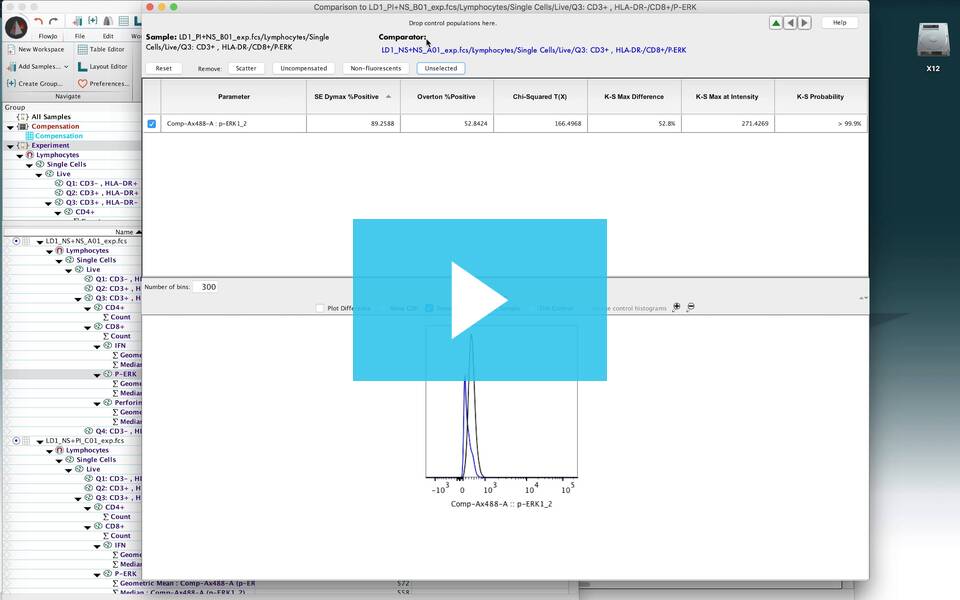
The Population Comparison platform is a tool used to assess statistical differences in populations between files.
Basic Operation
The platform is accessed via the Populations Band. To begin using the tool, select the target population and click on the Population comparison tool. A population comparison node will appear in the hierarchy under the selected population, and you will be presented with the Compare Populations window below.
NOTE: Any population within a FlowJo hierarchy can be selected. So it is possible, even preferable, to make clean up and immunophenotyping gates on a sample, then use a child population in the Population Comparison tool.

The top pane contains parameter selection tools, and a drop box for the controls you would like to compare the selected file to. Clicking on any of the categories of parameters following the “Remove:” text will, as expected, remove that type of parameter. In the example shown here we will compare only the compensated, fluorescent parameters for the lymphocyte population of this 96-well plate. The graphic below shows the modification produced by deselecting scatter, uncompensated, and non-fluorescent.
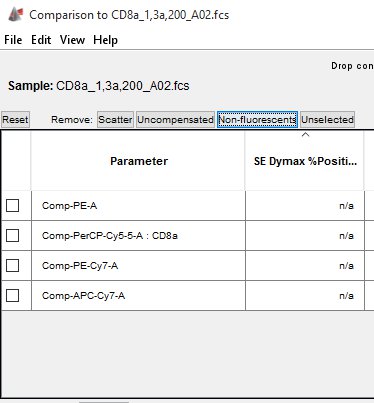
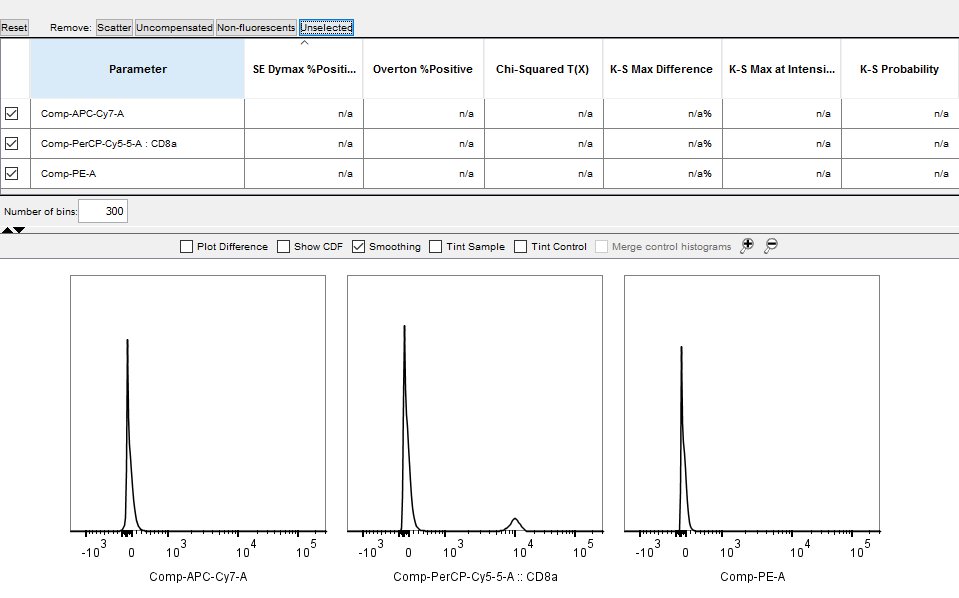
We can remove parameters from the list by clicking the check box next to the parameters we wish to keep and clicking the Remove: ‘Unselected’ box. Further note that once you select a parameter a histogram of that parameter is plotted at the bottom of the window.
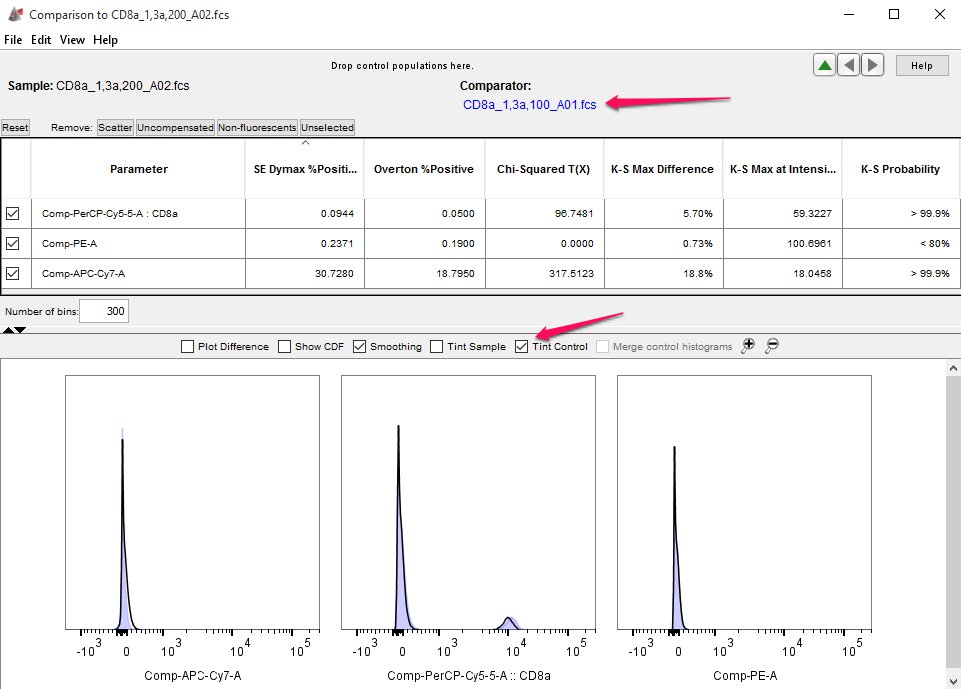
To assign one or more populations to be used as the control for comparison, simply drag the desired population(s) from the Workspace to the “Drop control populations here” portion of the platform. In this example, well A01 is the ‘control’, and the figure below shows that it has been dragged to the appropriate portion of the Population Comparison window (indicated by the top arrow) causing the statistics to calculate and overlays to be created from the graphs. To emphasize the difference, or lack thereof, in the two samples, the control has been tinted by clicking the “Tint Control” check box. The lower arrow in the figure below points to that option.
If you have more than one control file, and more is almost always more in statistics as noise tends to average out and real trends remain, drag all of the controls into the upper pane of the Population Comparison window. FlowJo will automatically create a composite control and use that for comparison.
Statistics
Several statistics are provided for each parameter. A detailed explanation and links to published materials are available by clicking on the name of each statistic. A brief English language summary is provided here.
Overton % Positive: Determines that percent of the events that are considered to have positive florescence for the selected parameter by subtracting out the florescence of the control.
SE Dymax % Positive: Determines the percent of events that are considered to have positive florescence by normalizing the data to a unit scale to protect against outliers, and by factoring in the distribution of the data.
Chi Squared T(x): Determines the T(x) score of whether the distribution of the selected parameter is statistically different from the control. T-scores can be compared to the T(x)-score produced by comparing two or more controls to see if the result is biologically significant. T(x)-scores can be calculated for many samples compared to control to convert them to a p-value.
K-S max difference: The maximum difference between the cumulative distribution function (CDF) of the test sample and the control sample used in the Kolmogorav-Smirnov (K-S) test.
K-S Max at Intensity: The intensity that the K-S max difference was detected at.
KS Probability: The probability that the two samples are statistically different, meaning the data comes from two different distributions, based on the K-S test. NOTE: The K-S test is frequently unreliable for flow cytometric data.
To remove any statistic from the display, right click on the column header and choose Remove.
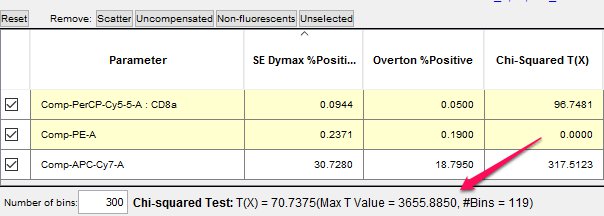
A multidimensional Chi-Squared test can be performed as well by highlighting multiple parameters, just by single clicking on them. In the graphic below two parameters have been selected to see if there is a difference in both parameters for the selected population. Follow the links for more information on Probability Binning or the T(x) metric. In this example, A01 and A02 are not very different.
Changing Plot View Attributes
The lower pane of the Population Comparison window includes tools for changing the display of the histograms. Check the Plot Difference box to superimpose a plot (green line) of the difference between the test and control populations on the histogram. For any channels in which the test sample has a greater portion of the events, the green line will be above the mid line and visa versa. (Note that it will be scaled independently of the histogram). If showing your plots in a Cumulative Distribution Function (CDF) view is more advantageous for you, check the Show CDF check box. The data can be smoothed or not, and you can choose to tint either the sample or the control to make it more evident which is which. Lastly, if multiple controls have been used, they can be merged graphically.
Batch functionality
Once a control(s) has been assigned to one sample you can assign it to multiple samples by dragging the node in the Workspace to other samples individually, to the All Samples group, or to any other group that you have created in your Workspace. Whatever samples were used as controls in the original instance will be used for all other comparisons.
The population comparison node can be dragged from the workspace into the table editor to quickly get all of the statistics from the platform into a tabular form
Tags: FlowJo

