Introduction
ElastiGate is an algorithm that attempts to mimic the way an expert flow cytometry analyst interprets and adjusts gates in 2-dimensional plots by representing the plots as images and comparing images of new plots to those of pre-defined training plots with pre-defined gating rules and hierarchy. It adjusts gates in 1-dimensional data by comparing histograms. By working with histograms and plot images, the data input is akin to what the expert sees, and the algorithm leverages existing image processing techniques. Gates originally established on the training file(s) are locally and globally adjusted in each test file based on how data shift and contort between the training and test files. This adaptive approach is designed to use few training files.
Local shifts in data on plots are modeled using elastic image registration. A transformation is determined that warps the training data plot to look like the new ungated plot, then the same transformation is applied to the gate vertices. This allows gate vertices, for any gate shape, to follow shifts in the nearby data and maintain gate ‘cutoffs’ intended by the user. No assumptions are made about population shapes, and peak-finding and density cutoffs are not used. The user can review all results and manually correct any gates if necessary.
ElastiGate is currently only available for FlowJoTM v10 software, not for SeqGeqTM. The plugin does not require the installation and configuration of R.
Note: The following procedure works for Mac® and Windows® workstations.
To install the ElastiGate plugin on your workstation:
1. In your web browser, go to https://flowjo.com/plugins and search for the plugin.
2. Download the ElastiGate plugin zip file on to your local workstation.
3. Extract the HyperFinder plugin jar file and the manual from the downloaded zip.
4. Place the plugin jar file to the FlowJoTM plugins folder in your workstation.
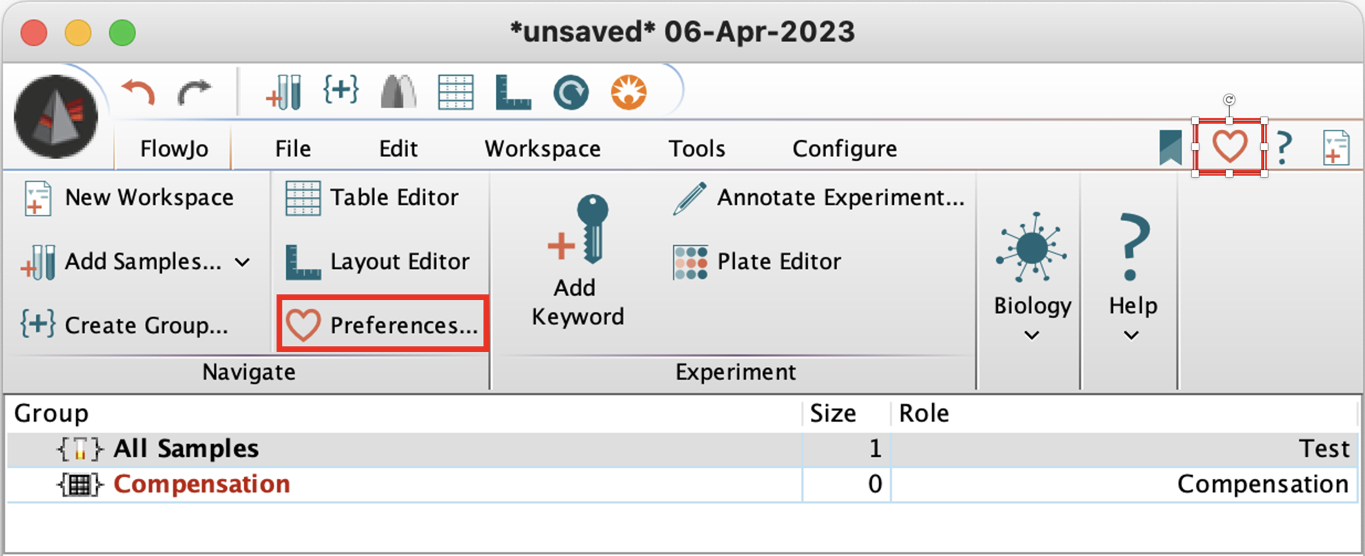
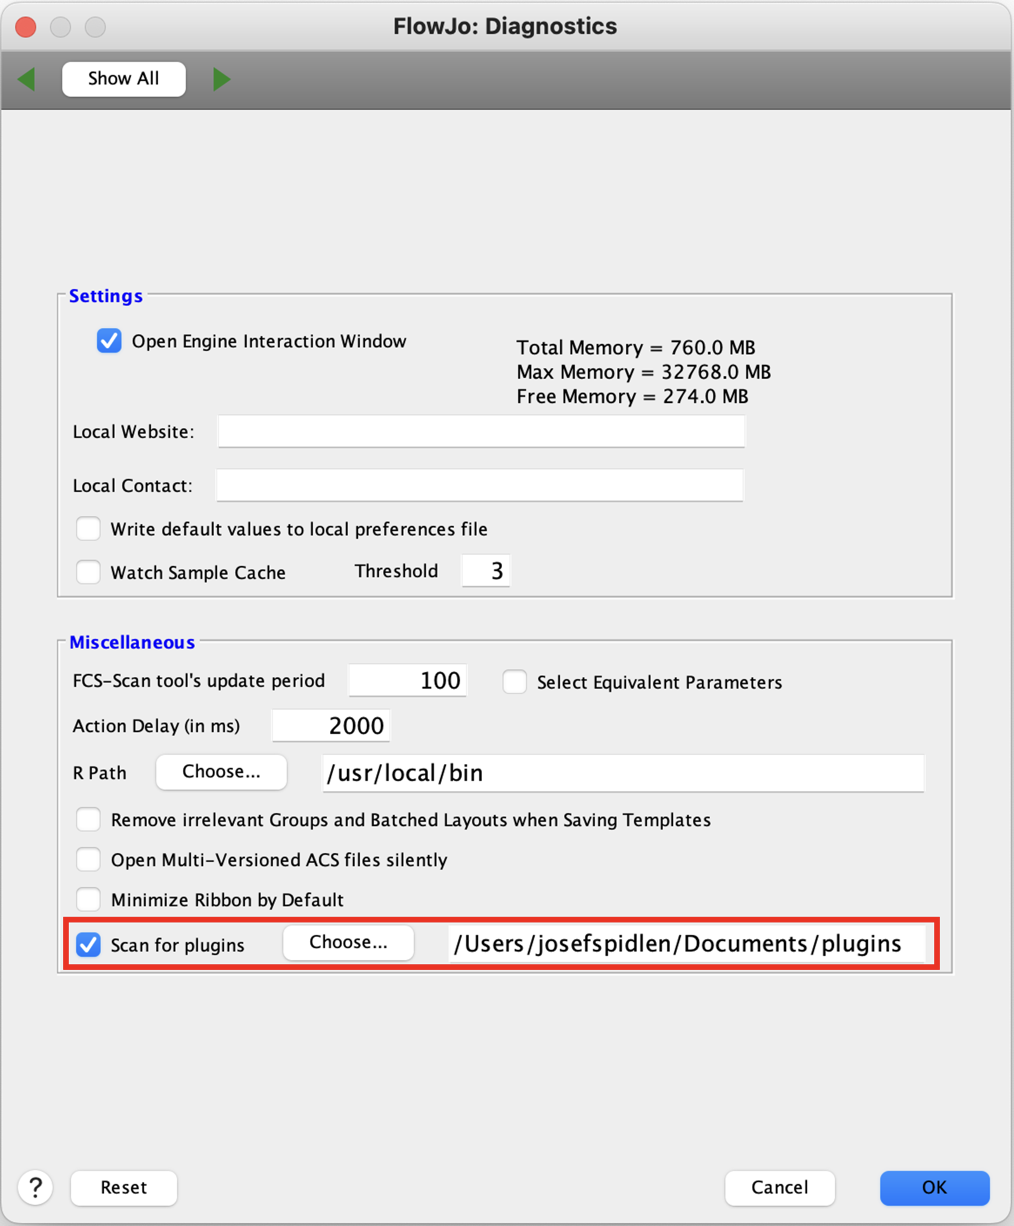
5. Open FlowJoTM software and go to FlowJo > Preferences > Diagnostics.

6. In the FlowJo: Diagnostics window, click to select the Scan for plugins option, then click Choose, and then select the location of the plugins folder.

7. Click OK.
8. Restart FlowJoTM v10 software.
The ElastiGate plugin is now available for you to use under Workspace > Plugins menu.
Using the ElastiGate plugin
The purpose of this plugin is to copy gates from one or more training files and adjust them to one or more target files. To use this plugin, you must have one or more fcs files in the FlowJo workspace gated with the same gating strategy, to be used as training files, and one or more fcs files in the FlowJo workspace which have the parameters that the gating strategy is defined on, to be used as target files. It does not matter if there are gates already on them.
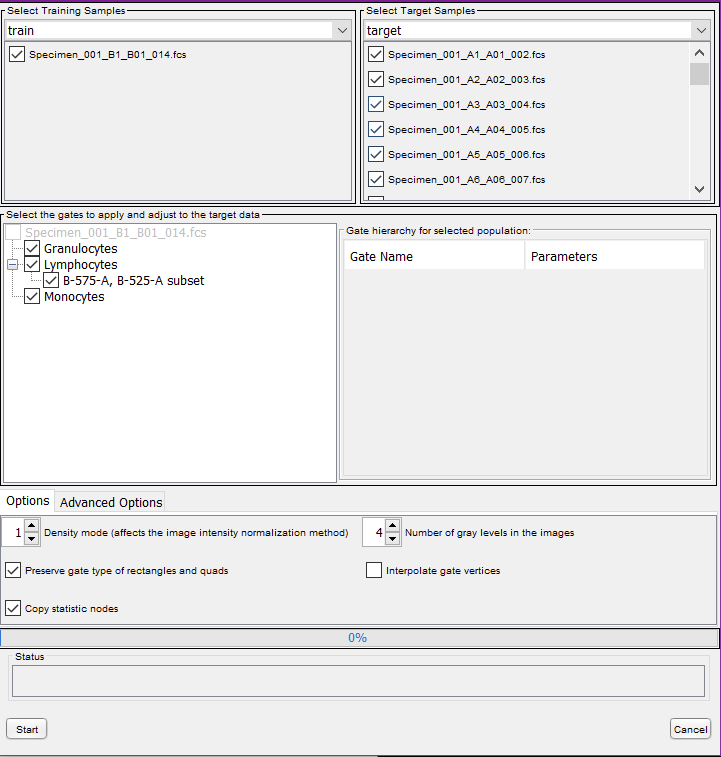
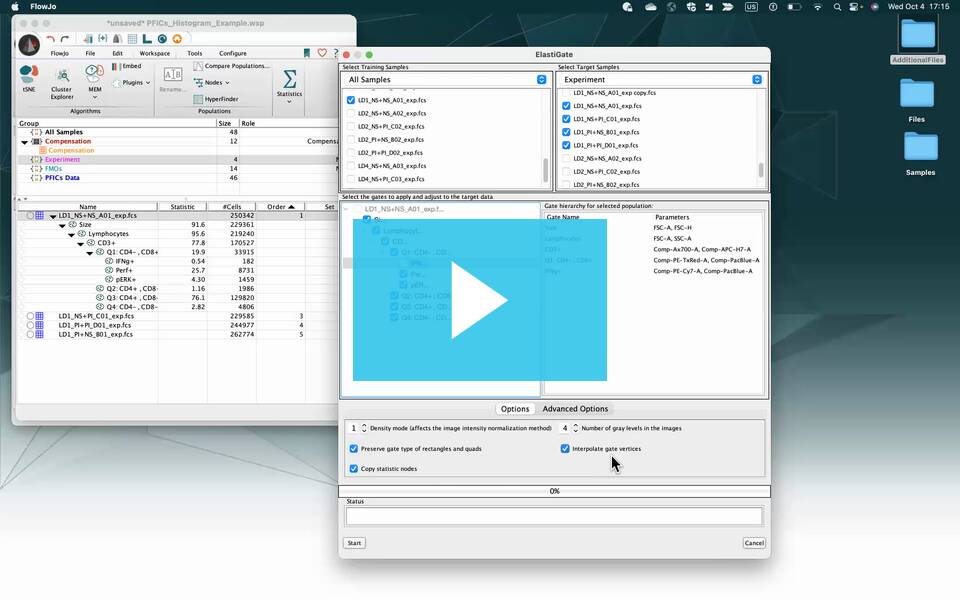
Click on an fcs file in the FlowJo workspace that is gated. Go to the “Workspace” tab and under the “Plugins” drop-down box, select the ElastiGate plugin. This will create the plugin node on the gated fcs file. You will see the dialog displayed below:

Select Training Samples:
All fcs files in the workspace which have the same gates as the initially selected training file will appear in the list. Select any fcs files which you would like to include in the training set. You can select a group in your FlowJo experiment from the drop-down box. Selecting a group will check all boxes for the samples in that group. Right click to select or deselect all. You must select at least one training sample to run the plugin.
Select Target Samples:
All fcs files in the workspace will appear in the list. If a file is selected as training data, it will be ignored at run time, even if it is selected here. You can select a group in your FlowJo experiment from the drop-down box. Selecting a group will check all boxes for the samples in that group. Right click to select or deselect all. You must select at least one target sample to run the plugin.
Select the gates to export:
The fcs file on which the plugin is created determines which gates and parameters are displayed. The left box allows you to select which gates to apply to the target samples. The right box displays the hierarchy of the currently highlighted gate and the parameters on which the gate is drawn. You can select a continuous range of gates, with respect to their hierarchy. If you select a range of gates which is starting from some parent gate, the plugin will attempt to find that parent gate on each target sample and add the new gates to that parent gate. If the parent gate is not found, the new gates will be added to the sample with no parent gates.
Options Panel:

Density mode: This changes some parameters for image normalization before registering images. It can be an integer values between 0 and 3. If plots are sparse, or if there are sparse areas of the plot which determine gate placement, then selecting lower values may improve performance. When there are denser populations, or if gate placement is determined by dense areas of the plot, higher values should be used.
• Interpolate gate vertices: Enabling this option will add extra gate vertices to the gate at
evenly spaced intervals. This will allow the entire gate outline to move and curve to better follow changes in the data. Redundant gate vertices are removed after being adjusted.
Vertices are considered redundant if they are too close together or form an almost straight line. You may see fewer gate vertices in the resulting gate, if enough vertices are removed due to the criteria described.
• Preserve gate type of rectangles and quads: If this box is unchecked, quad gates will be split into 4 polygons, and rectangles will become polygon gates, which allows more flexibility in gate movement.
• Copy statistic nodes: If enabled, any statistic child nodes on the gates we are processing will also be copied to the target samples.
Advanced Options Panel:

Do not allow vertices on the edge of the plot to move inwards: If selected, any gate vertices which are along the edge of the plot (as defined by the next option, Size of edge margin on plots), will not be allowed to moved inward when adjusting the gate.
• Size of edge margin on plots: In units of a 256 x 256 pixel image, this parameter controls the area around the edges of the plots on which a vertex may be considered an “edge” vertex. If a vertex is considered an “edge” vertex, it will stay at the edge of the plot, but can still be moved along the edge or further outside the plot boundaries. It only cannot be moved inwards into the plot.
• Optimize image registration parameters for 1D data: This option is on by default. This
determines whether the algorithm will try to automatically select the optimal resolution to use for image registration for 1D plots (from coarse to fine, in a pyramid method described in [2]. Turning this option off will decrease run time if you are applying Elastigate to 1D gates, but may also decrease the performance of the algorithm on 1D gates.
• Filter out lower-density areas of the plot: If true, lower density areas of the plot will be
dimmed when creating the image.
• Ignore non-matching populations: Checking this box enables a feature of the algorithm in which we use a mask over the train data and target data plot images before performing registration. The mask keeps only sections of the image with populations that appear in both images. This can be useful for applying gates to FMO’s, or situations where one expects some samples to have populations that others do not.
• Amount of offset allowed for matching populations: If the option “Ignore non-matching
populations” is selected (see above), this parameter controls how much a population can be shifted in order to consider it a matching population. In units of a 256 x 256 pixel image, this parameter controls the area around the training data populations in which we include data from the target plot when performing image registration.
Running the plugin
• Once all options have been set, click the “Start” Button. Once ElastiGate is done, you can close the ElastiGate window. The selected gates will be created on the selected target files in your FlowJo workspace. They are equivalent to manually drawn gates and may be moved and adjusted by hand.
• Additional notes:
• Ellipses are converted into polygons
• Boolean gates are not supported.
Support
If you have any questions regarding the use of this tool or other platforms in the FlowJoTM v10 software,
please reach out to: flowjo@bd.com, or visit us on our website https://flowjo.com.
References
[1] Arganda-Carreras, Ignacio & Sorzano, Carlos & Marabini, Roberto & Carazo, José & Ortiz-de-Solorzano, Carlos & Kybic, Jan. (2006). Consistent and Elastic Registration of Histological Sections Using Vector-Spline Regularization. Comput Vis Approaches Med Image Anal. 4241. 85-95.10.1007/11889762_8.
[2] Arganda-Carreras, Ignacio et al. “bUnwarpJ : Consistent and Elastic Registration in ImageJ .Methods and Applications.” (2008).

